Add IDX Pages to Your Site Menu
Search, listings and the rest of your IDX Broker pages can sit in the site menu like any other page, with no URLs to copy.
Written by IDX Plugin, an independent IDX Broker Developer Partner, not affiliated with IDX Broker.
In short
- Your IDX Broker pages sit in the menu like any other page.
- Tick the pages you want in the editor, no URLs to paste.
- Build the whole menu before you connect the site.
- Move the site later and the menu links still work.
Add the pages
-
1
Open the menu editor
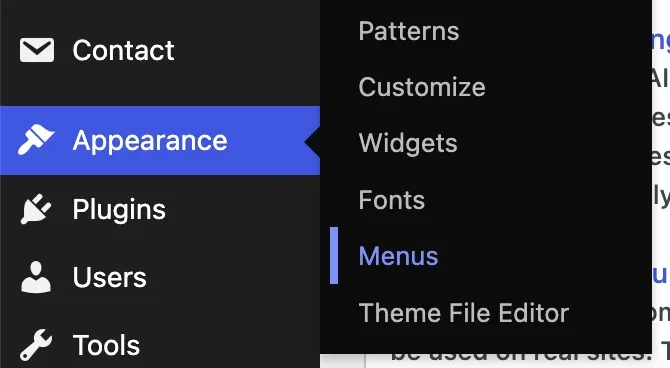
In wp-admin go to Appearance then Menus and pick the menu you want to change.
-
2
Open the IDX Plugin box
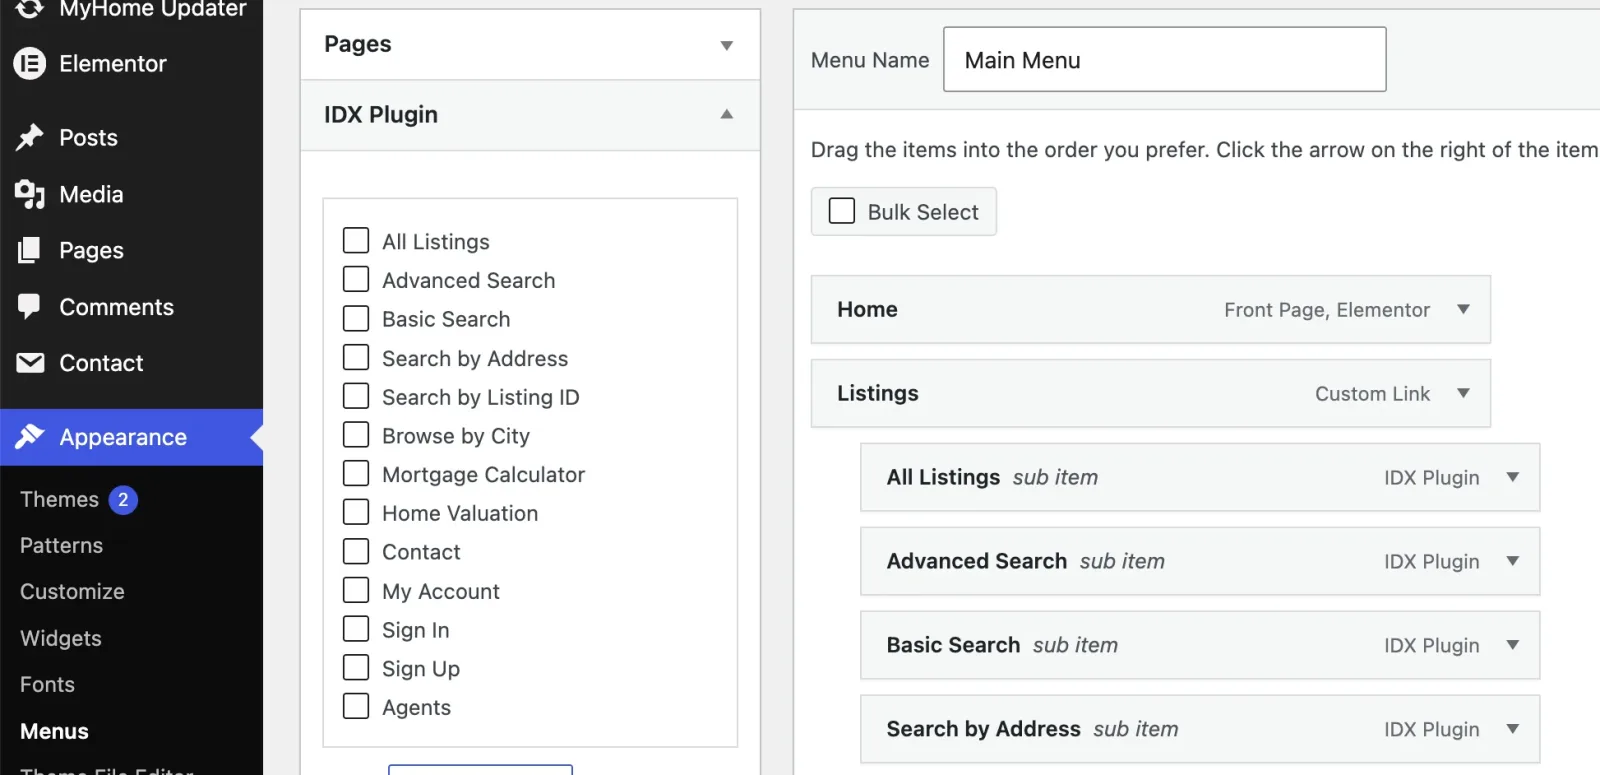
In the left column, next to Pages and Custom Links, open IDX Plugin.
-
3
Tick and add
Tick the pages you want, click Add to Menu, then drag them into position.
-
4
Rename them if you want
Each item has a Navigation Label field, so All Listings can become Browse Homes.
- 5 Click Save Menu
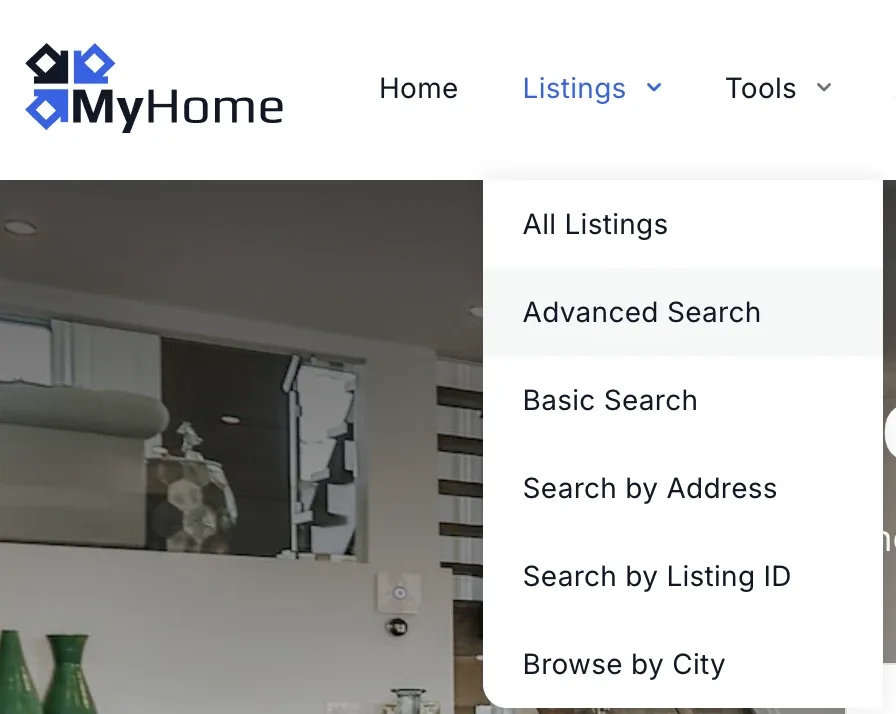
Done. The IDX pages now sit in your navigation like any other item.
What you can add
- Searching, All Listings, Advanced Search, Basic Search, Search by Address, Search by Listing ID, Browse by City.
- Tools and lead capture, Mortgage Calculator, Home Valuation, Contact.
- Visitor accounts, My Account, Sign In, Sign Up.
- Agents, the roster page, on IDX Broker Team and Office accounts only.
Before the site is connected
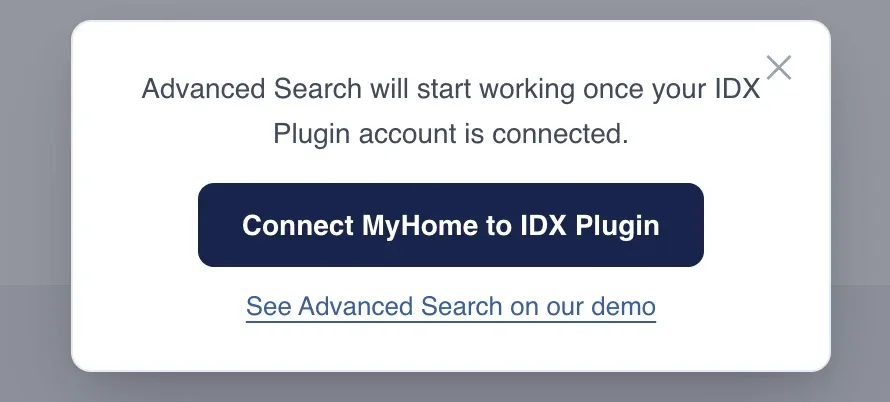
You can build the whole menu before you connect anything. Clicking an IDX item then opens a message with a link to the same page on our demo, and as an administrator you also get a Connect MyHome to IDX Plugin button. See Connect MyHome IDX to IDX Plugin.
The rest of the menu
Edit the Menu on Your MyHome IDX Site covers the rest, its styling and the cache to clear so your IDX pages show the new menu.
Not sure which pages belong in the menu?
Tell us what your visitors are meant to do first and we will suggest a structure, or set the menu up with you. It comes with your IDX Broker account.
Contact support Support runs by email.