IDX Plugin for Gutenberg, Step by Step
The full Gutenberg setup, from pasting your first search form to making the IDX Broker pages match your site.
Written by IDX Plugin, an independent IDX Broker Developer Partner, not affiliated with IDX Broker.
On this page
In short
- A live search form on the WordPress page you choose.
- IDX results and property pages open inside your own theme.
- Widgets and IDX pages end up in one look, set in one place.
- You need an IDX Broker account and a free IDX Plugin account.
Gutenberg has been the default WordPress editor since version 5.0 and works with most themes on the market. It lets you build pages from blocks like text, images, buttons or videos. You will use one of its built-in blocks, Custom HTML, to paste IDX code exactly where you want it on the page.
You need a WordPress site with the Gutenberg editor, an IDX Broker account that pulls real-time data from your MLS, with the $100 setup fee waived through us, and a free IDX Plugin account, where you create and style the widgets.
Step 1: Add a search form to your page
-
1
Open the page
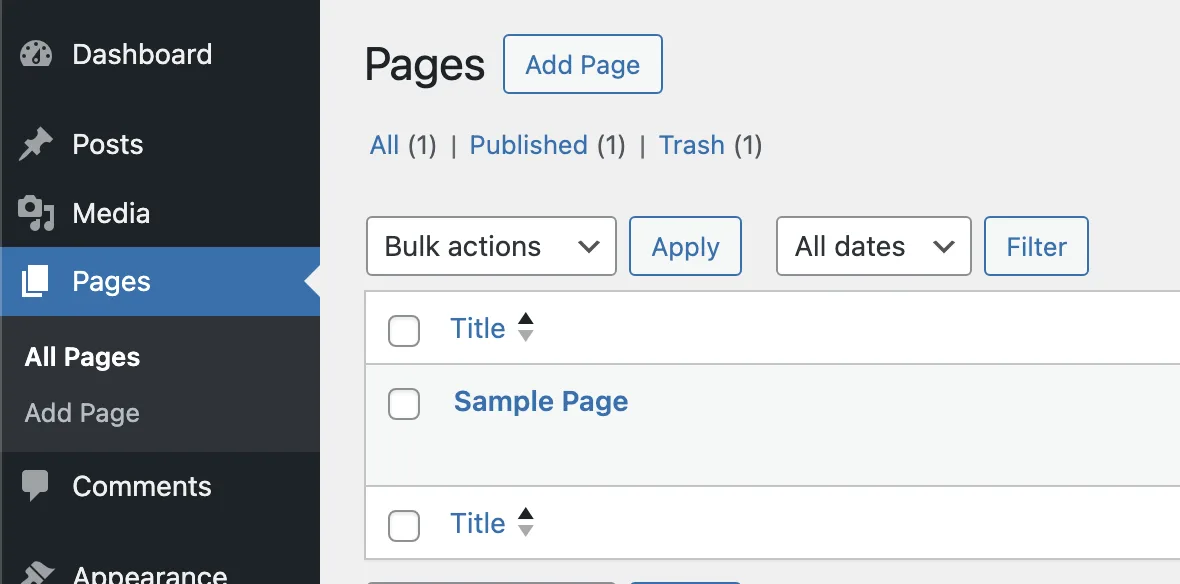
In your WordPress dashboard, go to Pages › All Pages. Find the page where you want the widget and click its title.
-
2
Open the block picker
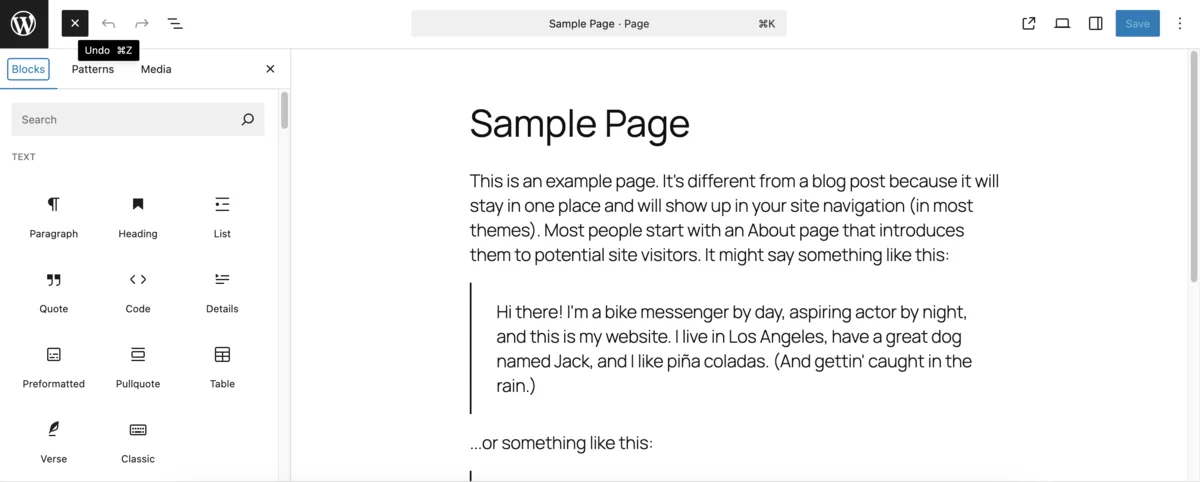
The page opens in the Gutenberg editor. Click the + icon to open the sidebar with available block types.
-
3
Add the Custom HTML block
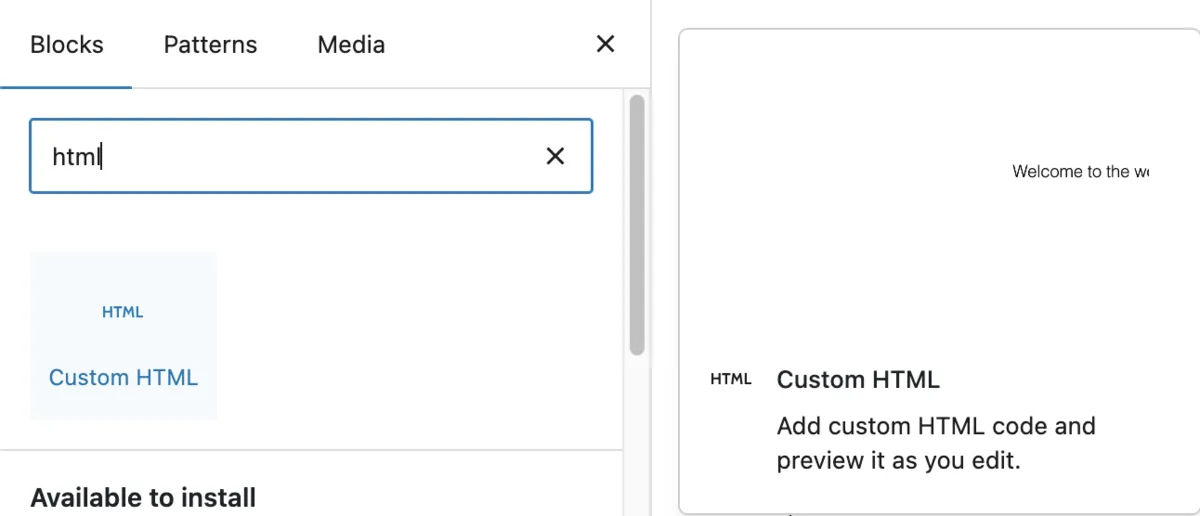
Search for the Custom HTML block and drag it to the spot where you want the widget to appear.
-
4
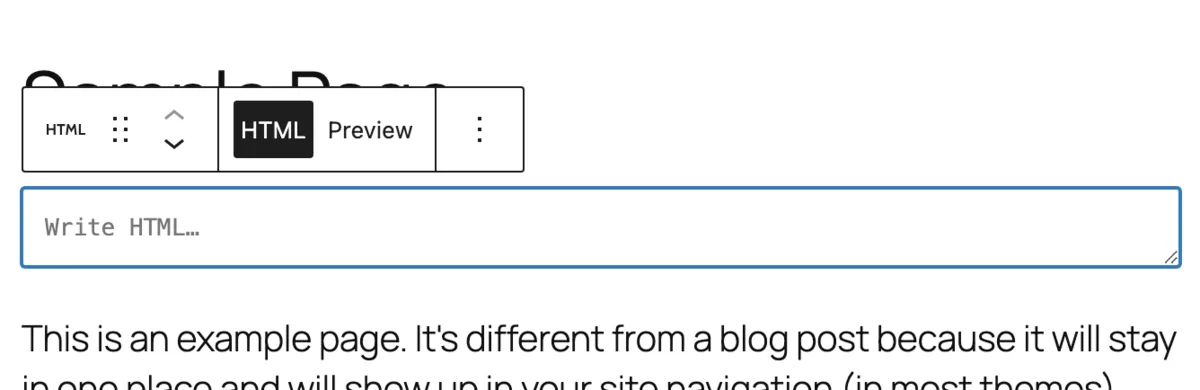
Check the empty block
It should look like this.
-
5
Get your embed code
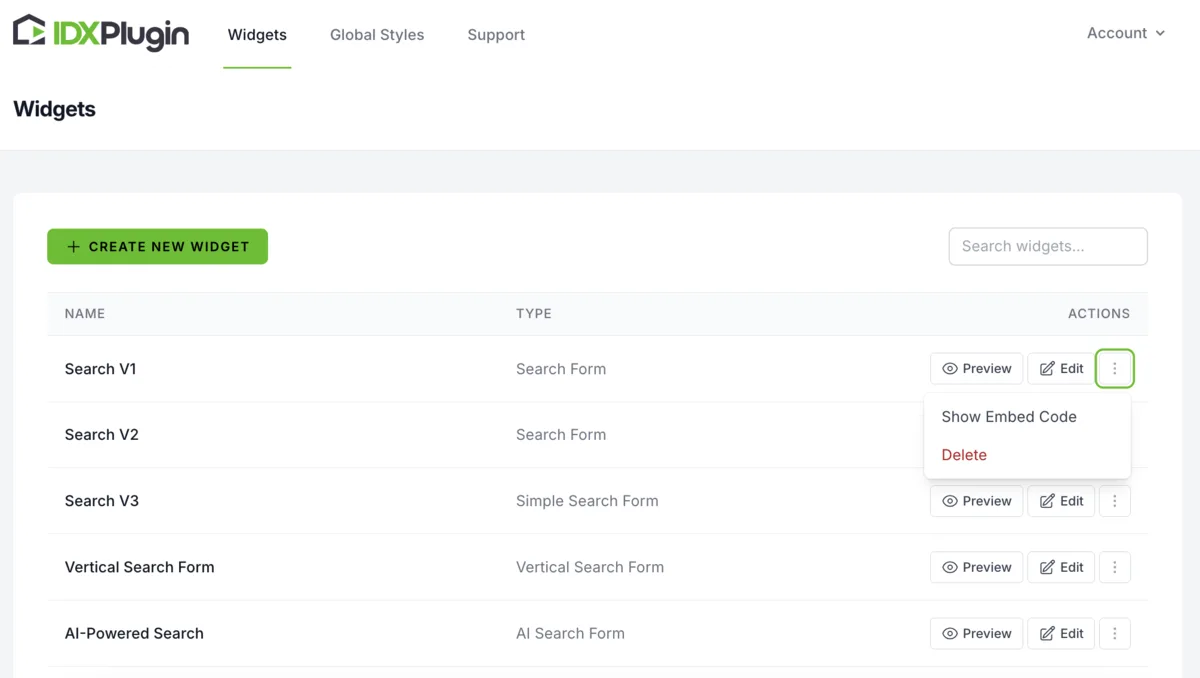
Go to your IDX Plugin dashboard. Ready-made widgets are already connected to your IDX Broker account. Choose the search form you want and click Show Embed Code.
-
6
Copy the code
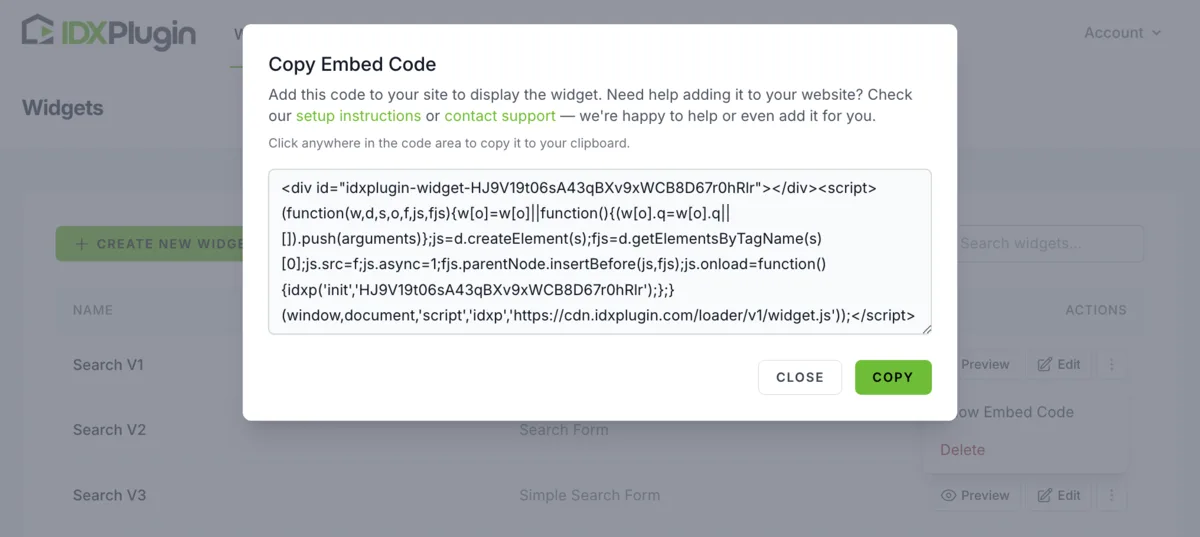
Copy the code from the popup window.
-
7
Paste and save
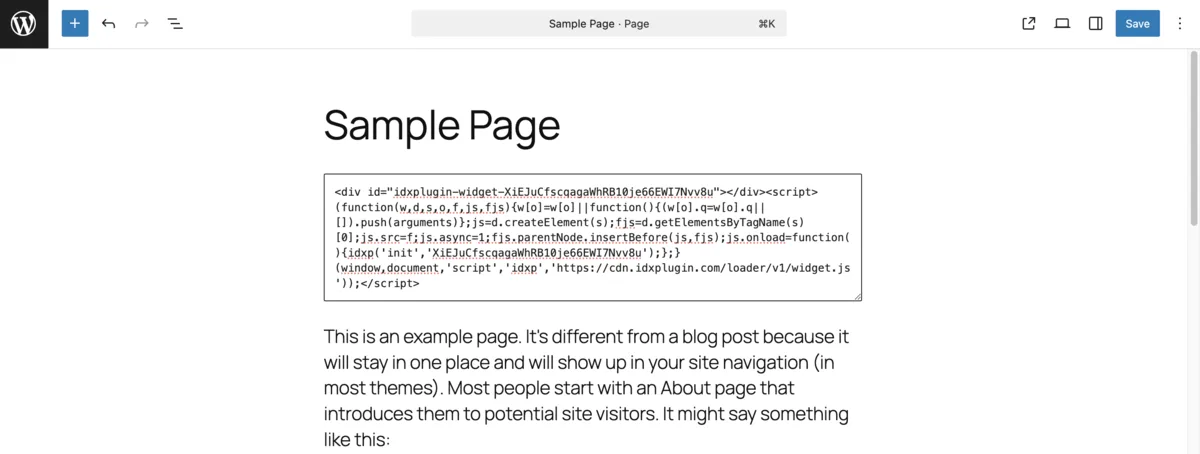
Return to the Gutenberg editor, paste the code into the block and save the page.
-
8
See it live
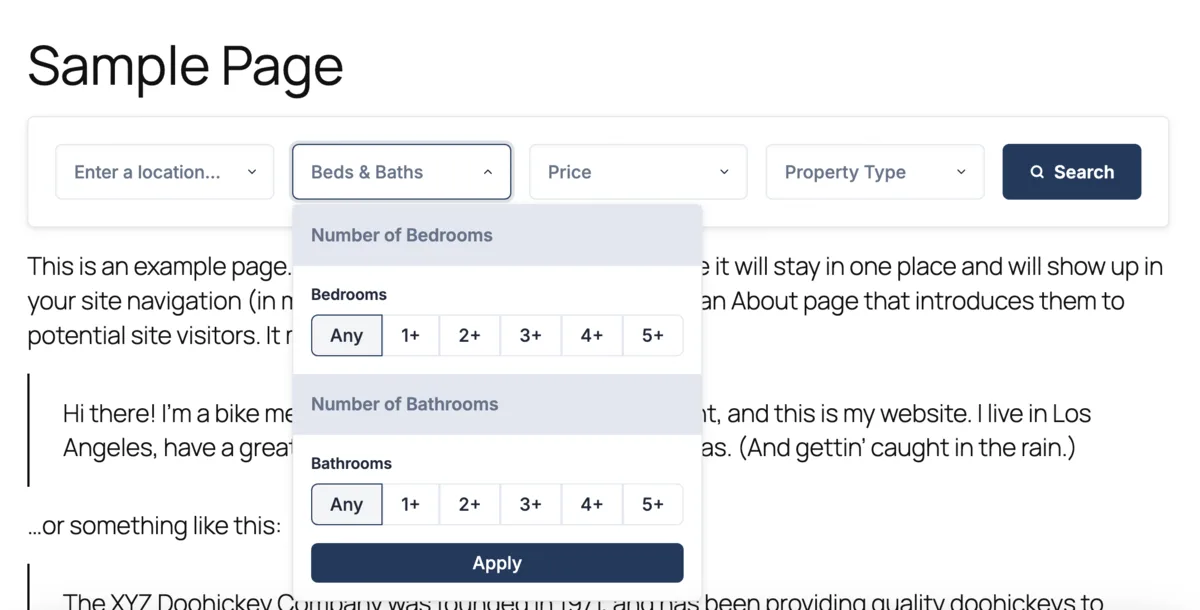
Visit the page URL and you will see the widget displaying MLS listings on your website.
Step 2: Show IDX pages inside your theme with a dynamic wrapper
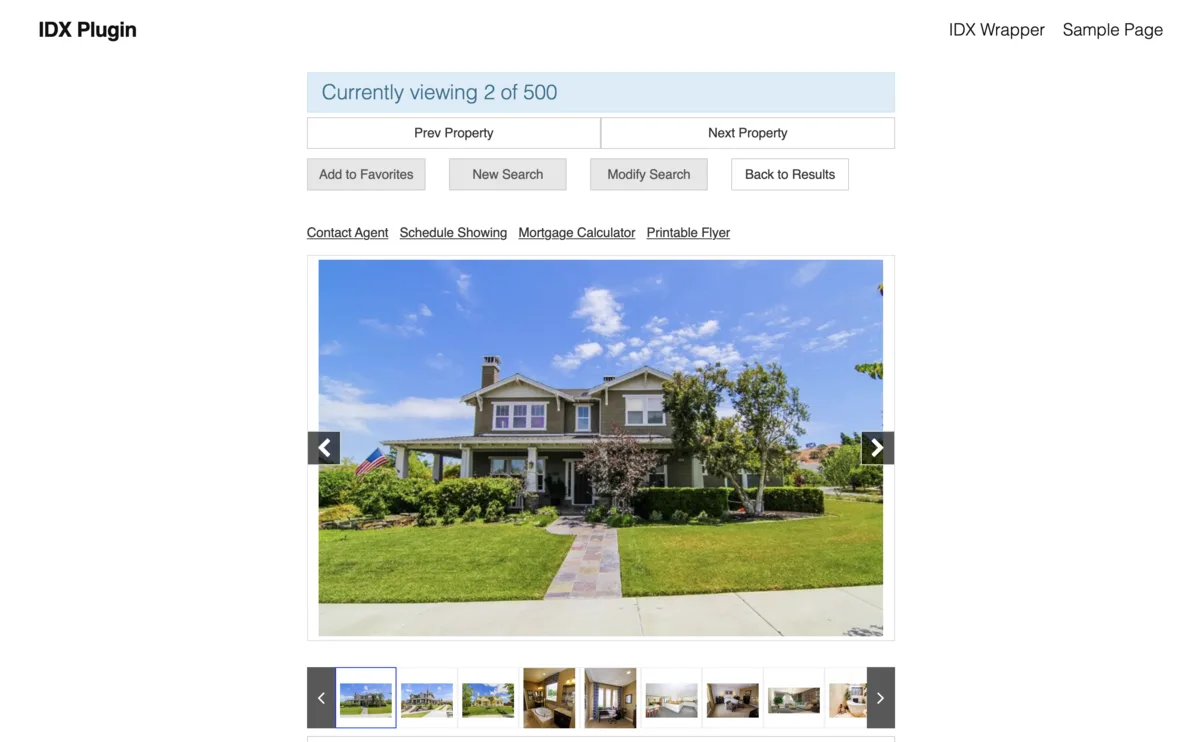
IDX Broker creates its own pages for search results, property details and lead tools. To make those pages inherit your header and footer, add a dynamic wrapper.
-
1
Create a new page
In the WordPress admin dashboard, go to Pages › Add New Page.

-
2
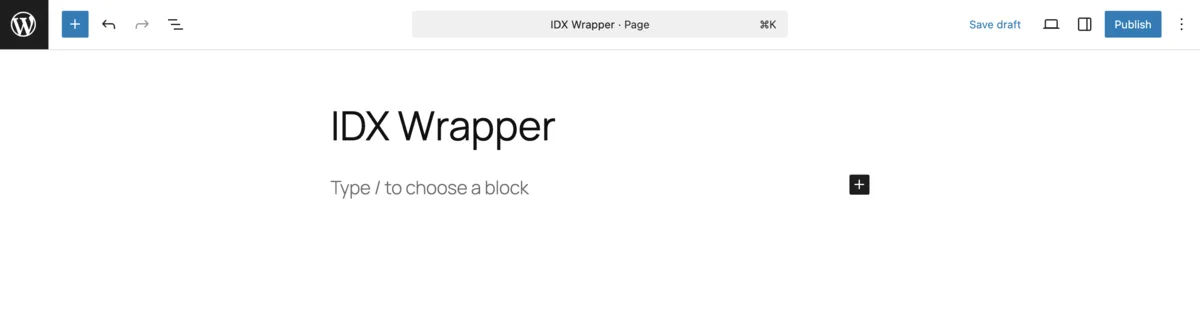
Name it
Name the page "IDX Wrapper" and click Publish.
-
3
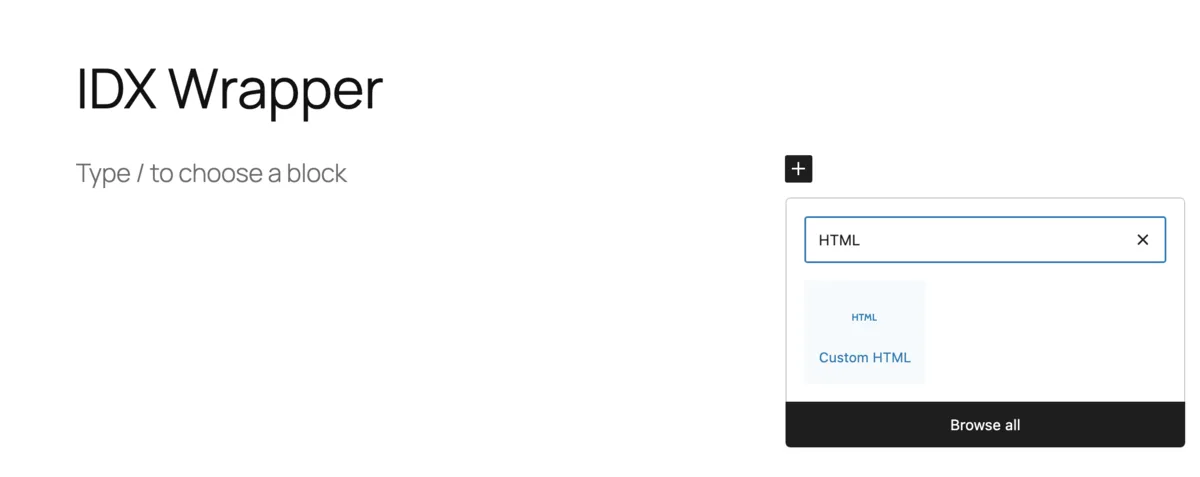
Add the Custom HTML block
Click the plus icon, type "HTML" in the search field and select the Custom HTML block.
-
4
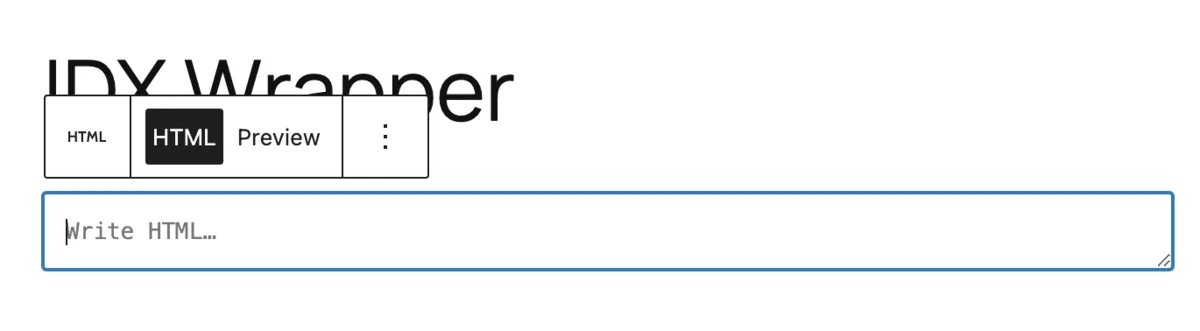
Check the block
You will see a block where you can write or paste HTML code.
-
5
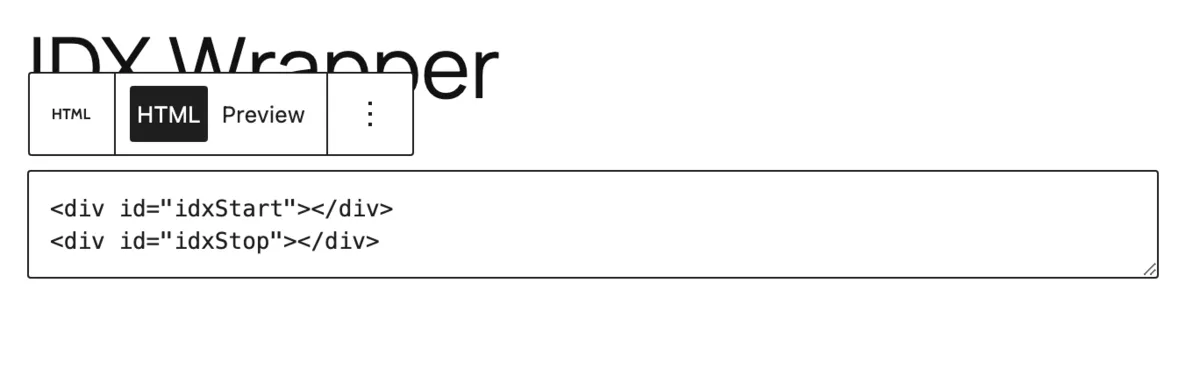
Paste the wrapper tags
Copy the code shown below and paste it into the block. The two tags mark where IDX Broker inserts its content.
-
6
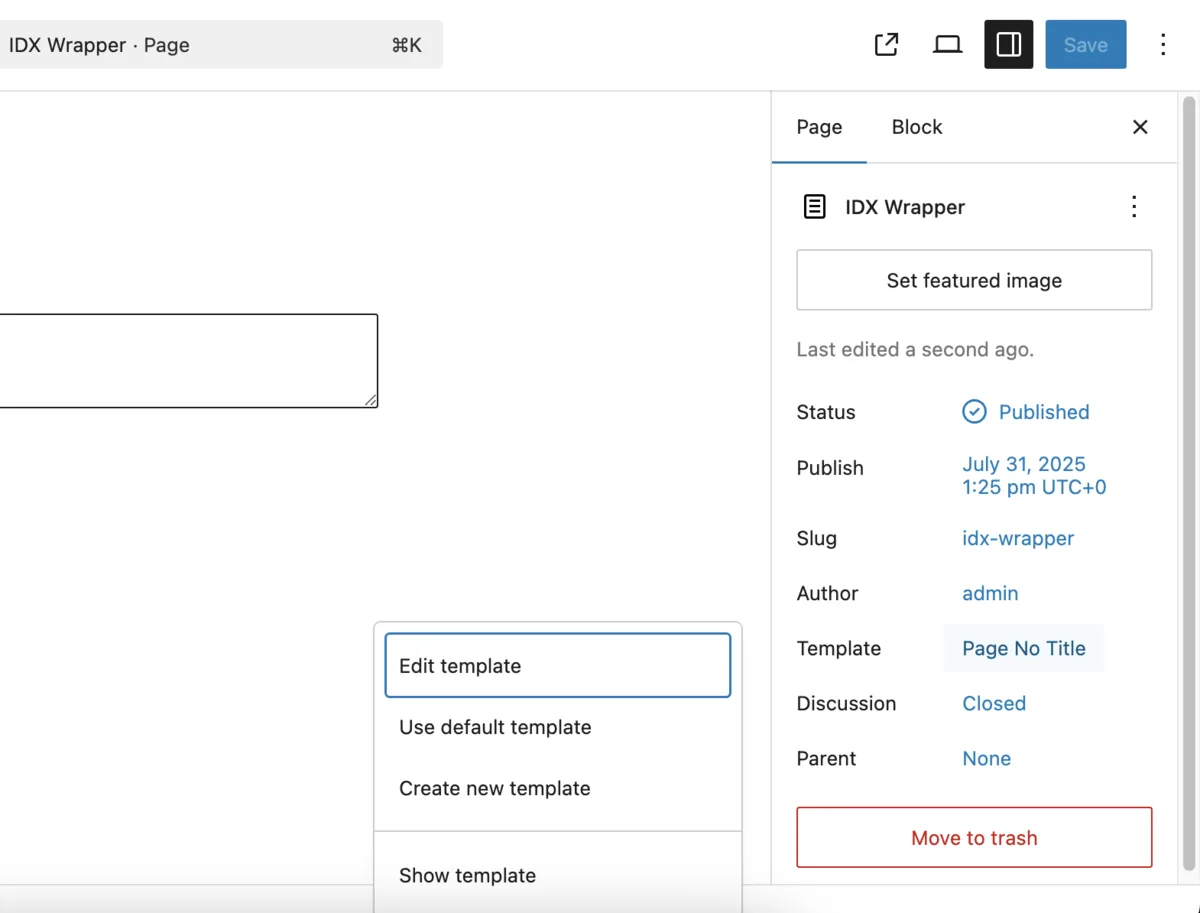
Pick the page template
In the right sidebar under Page › Template, choose a layout that hides the default title but keeps the header and footer. The name varies by theme, in our case it was "Blank with Header & Footer".
-
7
Update and copy the URL
Click Update to save your changes and copy the full URL of the page, for example https://yourdomain.com/idx-wrapper.
-
8
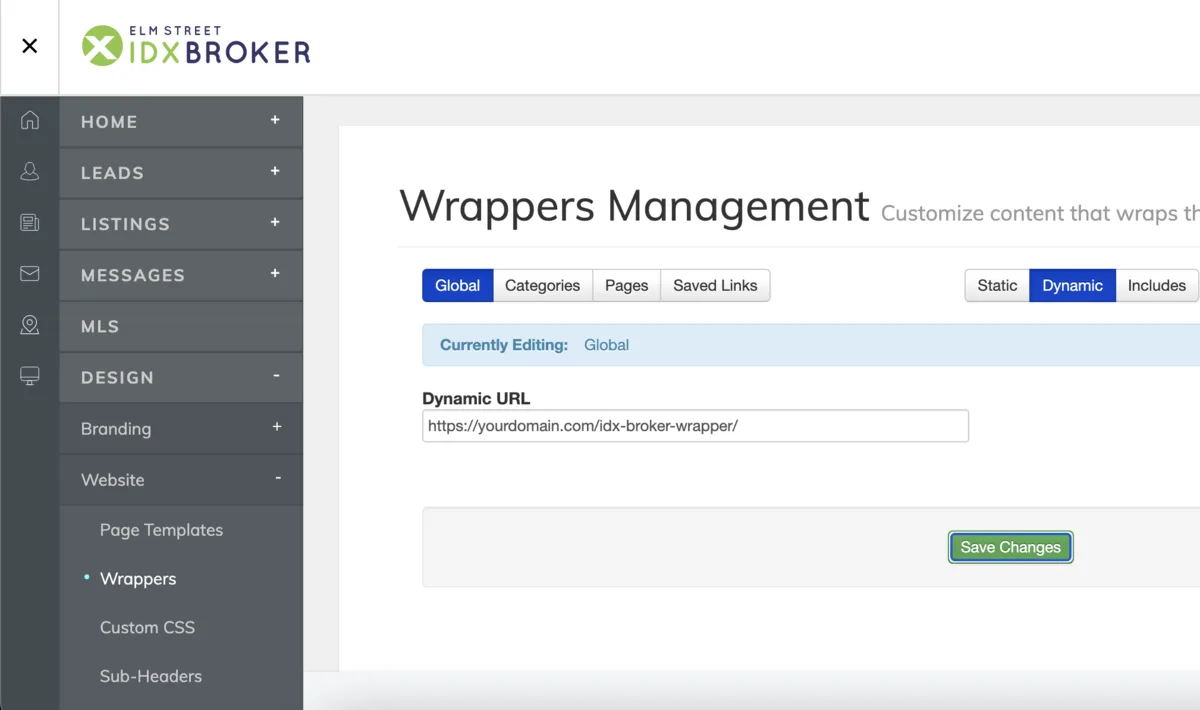
Set the wrapper in IDX Broker
In the IDX Broker dashboard, go to Design › Website › Wrappers › Global, paste the URL into Dynamic URL and click Save Changes. IDX Broker keeps a cached copy of the wrapper page, which you can refresh on this same screen after you change the page.
<div id="idxStart"></div><div id="idxStop"></div>All IDX pages now load inside your theme, giving visitors a seamless experience.
Step 3: Put your own layout on the IDX pages
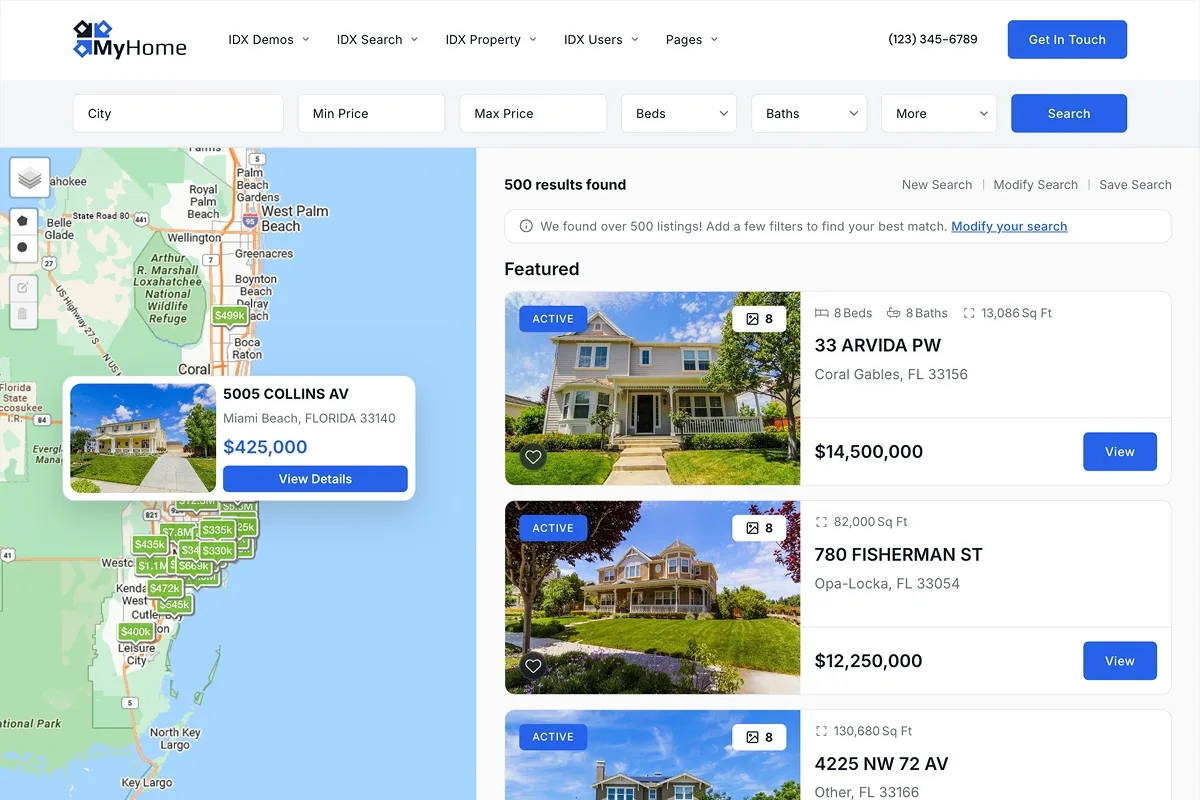
The wrapper put your header and footer around the IDX pages. For the layout between them, the results list, the property page, the lead forms, our templates sit ready in your IDX Broker account and you switch them on page by page, with no code. You don't have to design those pages yourself. Here is the search results page, the one visitors spend the most time on, running on our template. It links to the live version, open it and run a search.
The templates appear in your account once IDX Plugin is set as your developer partner, which is free. Which template goes with which page, and how to switch them, is covered in How Our IDX Broker Templates Work.
Step 4: Style everything to match your site
With the templates in place, one set of style settings covers your widgets and the IDX pages together. There are two simple ways.
Global Styles
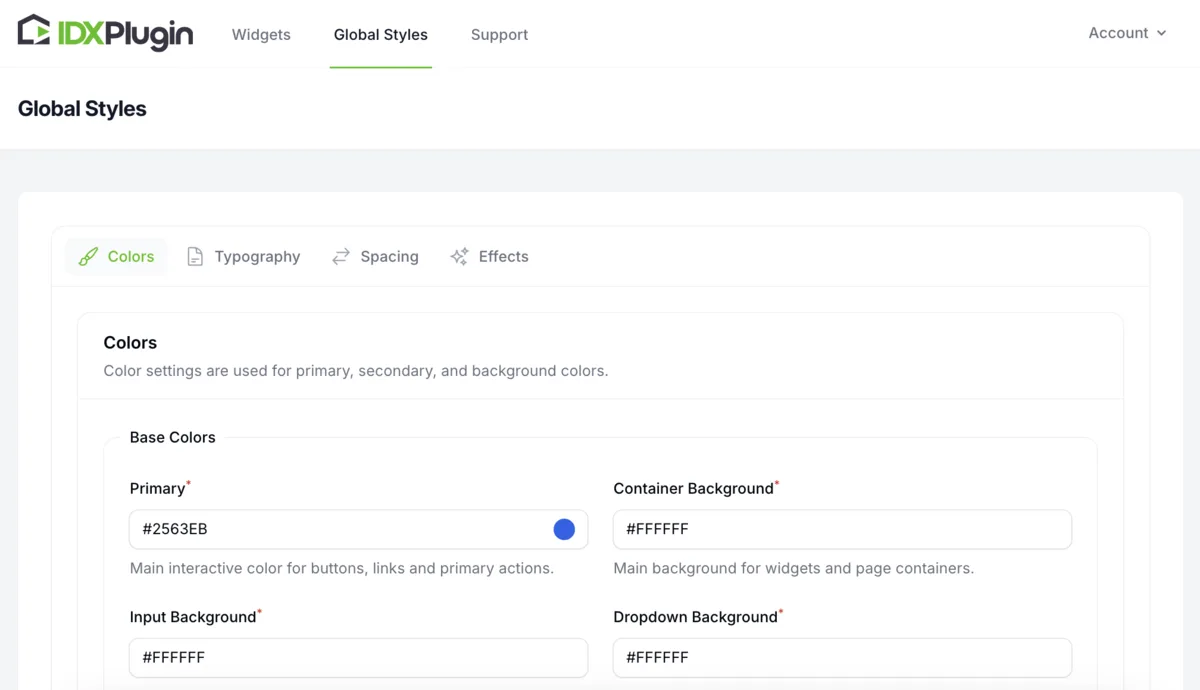
In the IDX Plugin dashboard, open Global Styles. Set the main colors, fonts, spacing and effects. They apply to every widget and to the IDX pages you just switched over.
Styling individual widgets
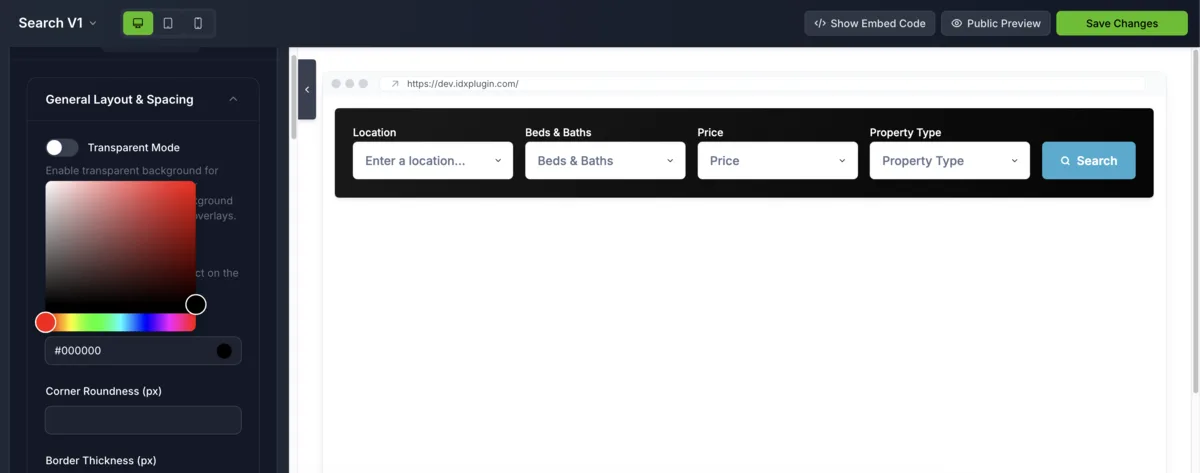
Want a specific widget to stand out, like the search bar on your homepage? Open that widget, go to the Appearance tab and adjust background color, padding or text size. These changes affect only that one widget.
Ready to get started?
Create a free IDX Plugin account and start adding widgets today. If you have questions at any step, our team will help you through the setup.
Get Started, it's free You only pay IDX Broker. The $100 setup fee is waived through us.