Elementor IDX Plugin Setup for Realtor MLS WordPress Sites
If you're using Elementor to build your real estate website with a WordPress theme — whether it's a free theme like Astra or Hello, or a premium one like MyHome or Houzez — you can easily integrate MLS listings and search forms via IDX Broker using the free IDX Plugin. In this guide, we'll walk you through the steps to embed widgets on your page.
What You'll Get with This Integration
By following this tutorial, you'll be able to:
- • Display live, auto-updating MLS listings from your IDX Broker feed directly on your WordPress site
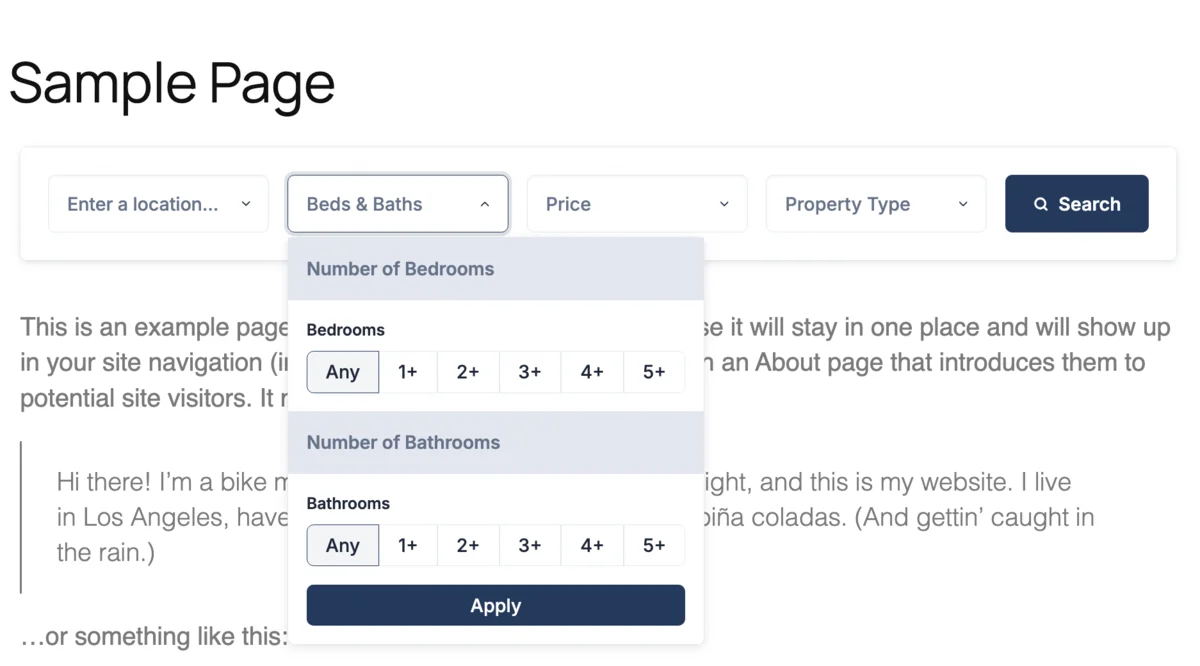
- • Add a fast, mobile-friendly property search form with filters, map options, and location autocomplete
- • Place interactive listing widgets anywhere — on homepage or neighborhood pages
- • Ensure IDX search results and listing detail pages use your site's navigation and footer for a consistent brand experience
- • Generate leads with built-in tools like saved searches, listing alerts, and contact forms
- • Improve SEO with indexable MLS content that helps your site rank for local real estate keywords
- • Skip syncing or managing listings manually — IDX Broker handles all MLS data updates automatically
- • Avoid slowing down your hosting — the listing data is hosted and served by IDX Broker
- • Customize widget styles globally or per widget to perfectly match your site's look
- • Save $100 on IDX Broker's setup fee by using our partner link
- • Complete the setup in under 10 minutes if you already have an IDX Broker account
What You'll Need
To follow this guide, you'll need two accounts:
IDX Plugin account
It gives you access to easy-to-use widgets that match your design.
Register here for freeStep 1: Add the IDX Plugin Search Form to Your Homepage
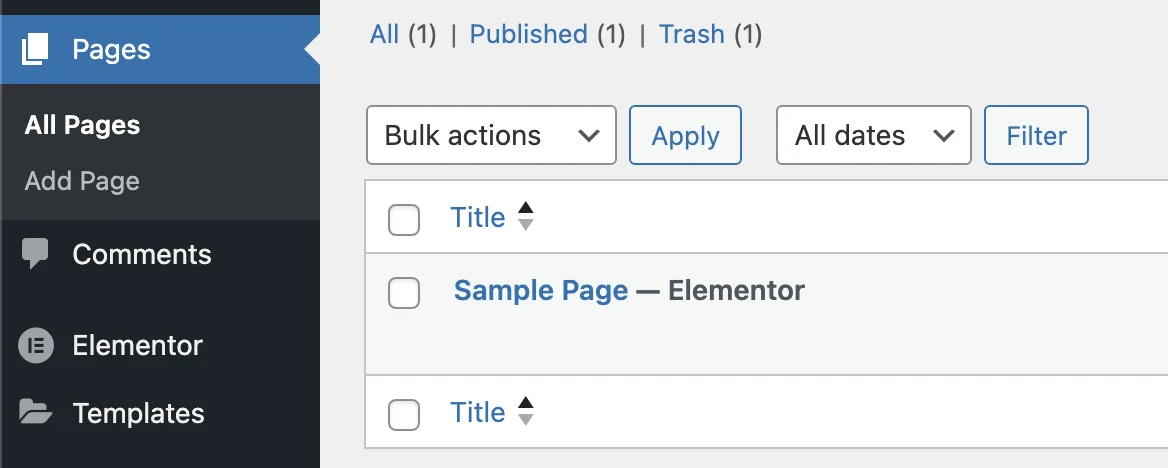
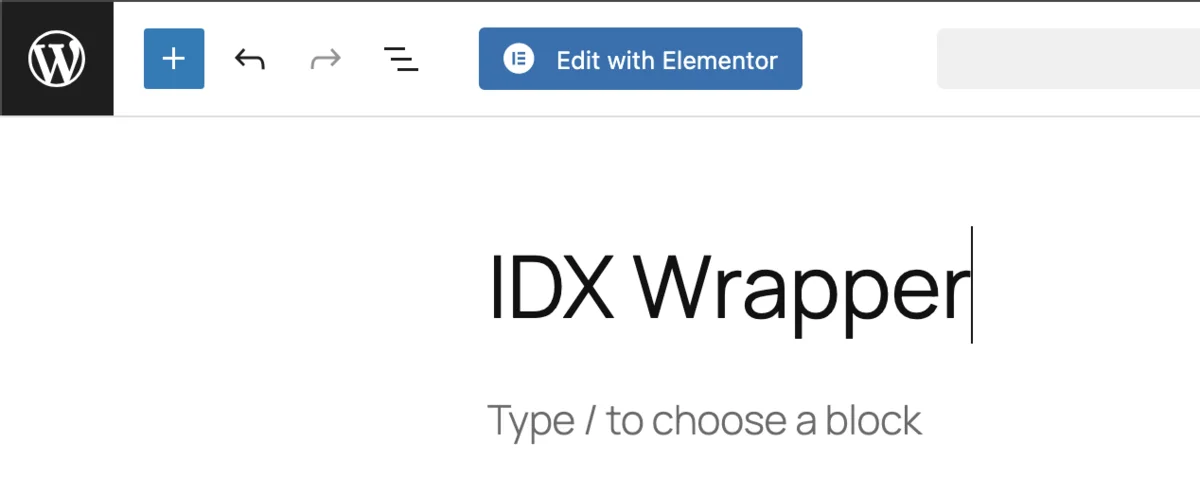
1. From your WordPress dashboard, go to Pages, find the page you want to edit, and click its title.
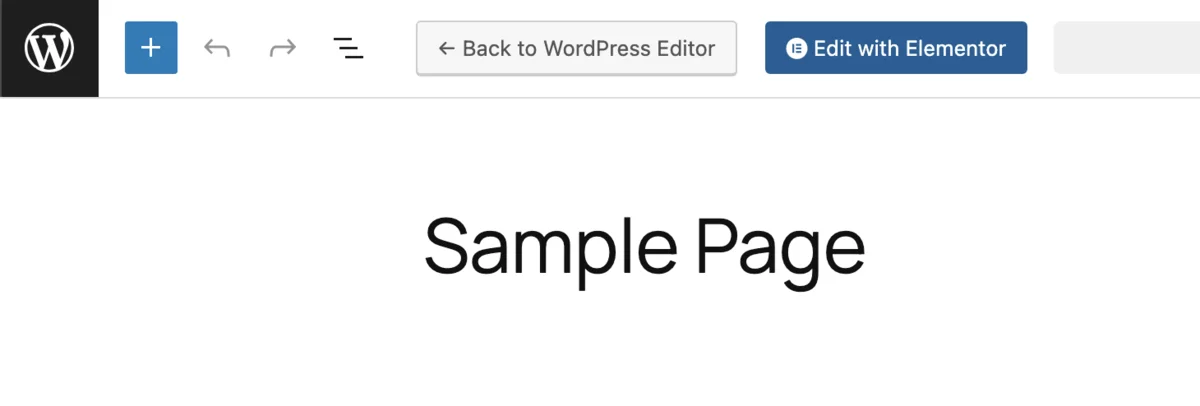
2. Then click the "Edit with Elementor" button.
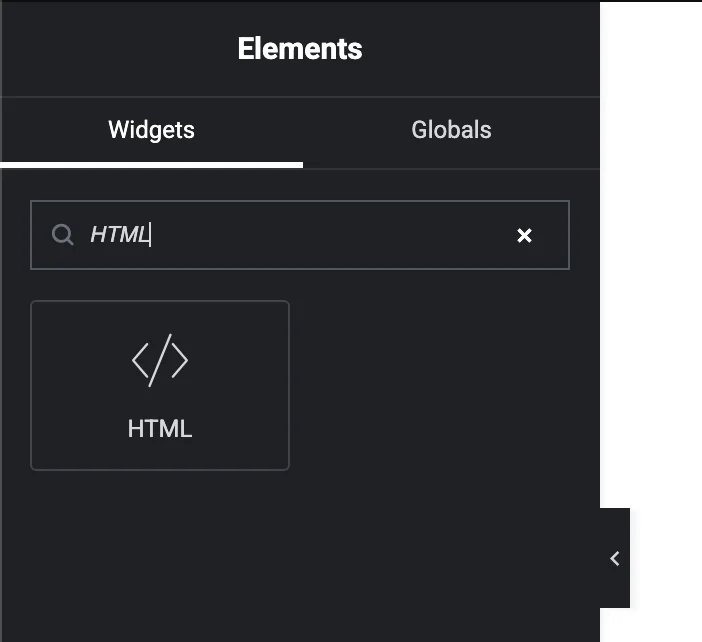
3. In the Elementor panel on the left, search for "HTML".
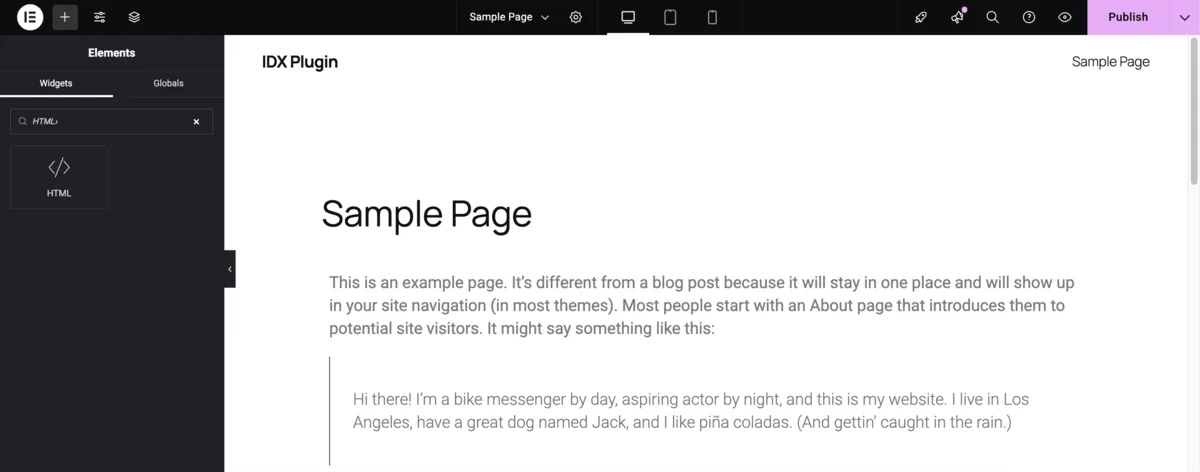
4. Drag the HTML widget (</>) into the section where you want the widget to appear.
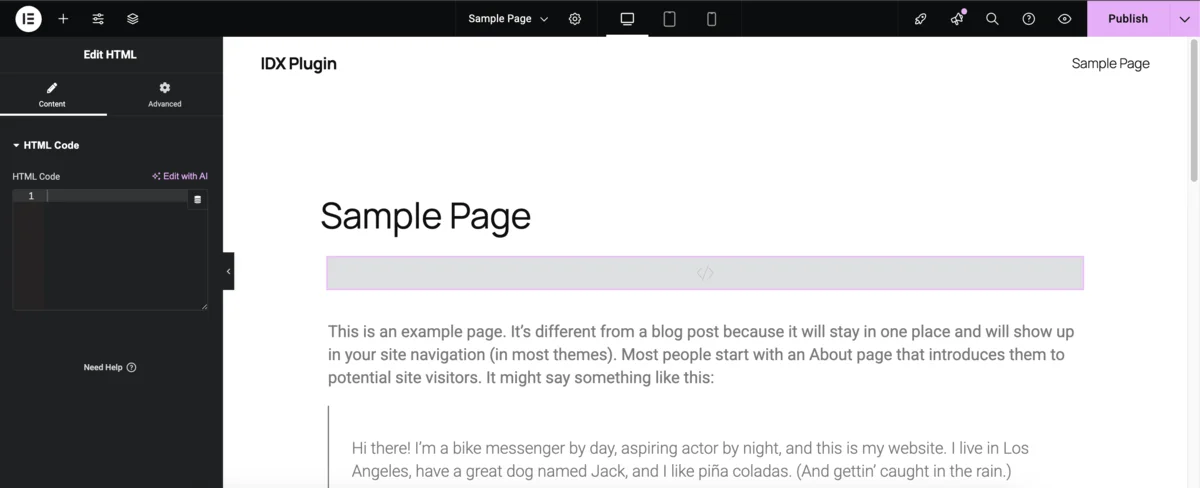
5. Open your IDX Plugin dashboard. Find the widget you want to use and click the three-dot menu. Choose "Show Embed Code."

6. A popup will appear. Copy the code using the green COPY button.
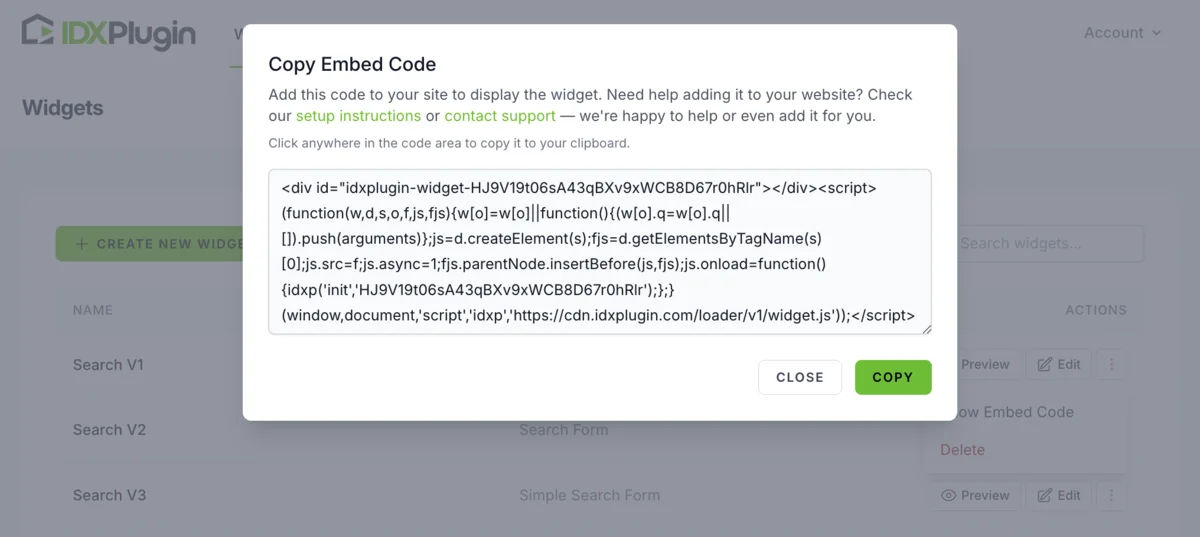
7. Back in Elementor, paste the code into the HTML widget you just placed.
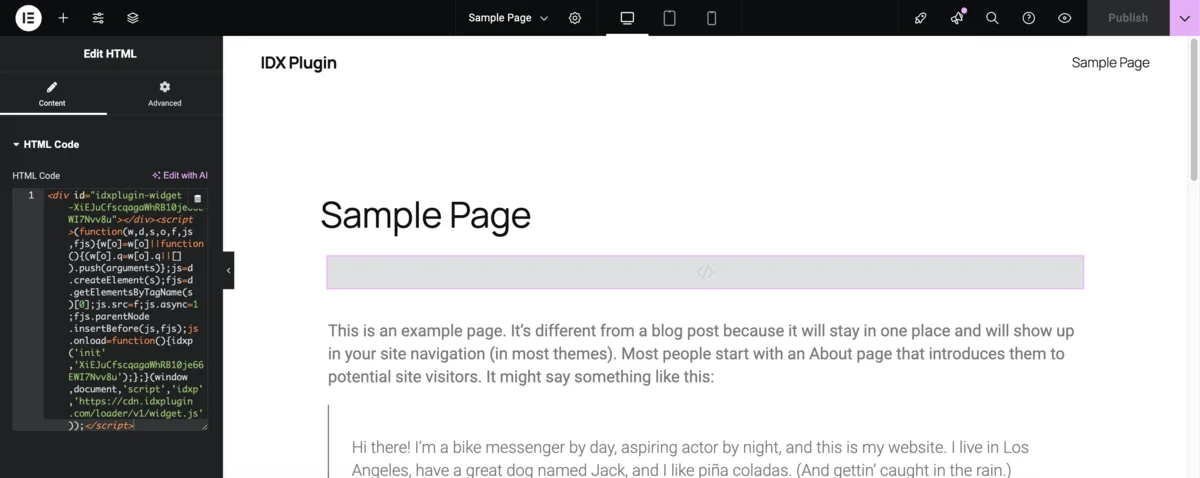
8. Click the main button to save your changes — it may say Publish, Update, or something similar depending on your page's status. Then preview the page. The widget should appear exactly where you placed it and display live MLS data using your site's styling.
Step 2: Display IDX Pages with Your WordPress Layout Using a Dynamic Wrapper
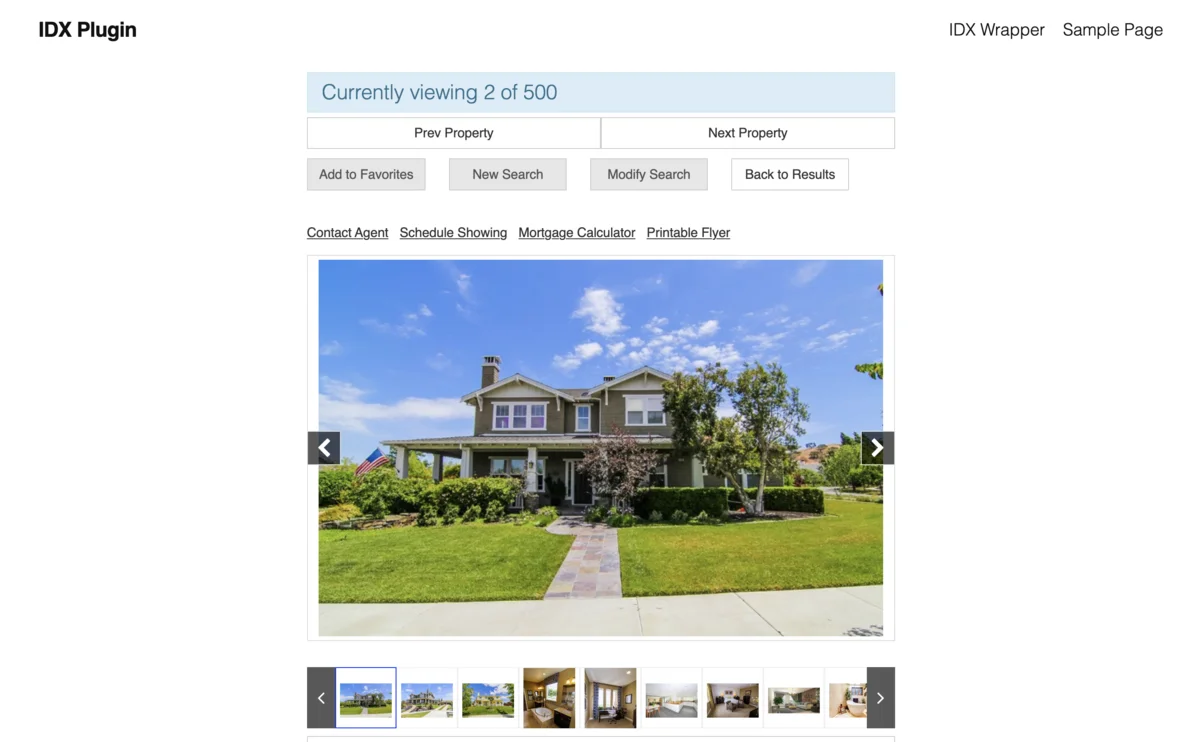
IDX Broker generates its own pages for features like search results, listing details, and lead tools (e.g. "Schedule a Showing" or "Home Valuation"). By default, those pages don't inherit your WordPress theme's header and footer, which can break design consistency.
To fix that, you'll use a dynamic wrapper — a special page in WordPress that tells IDX Broker where to inject its content. This way, IDX pages will visually match the rest of your site.
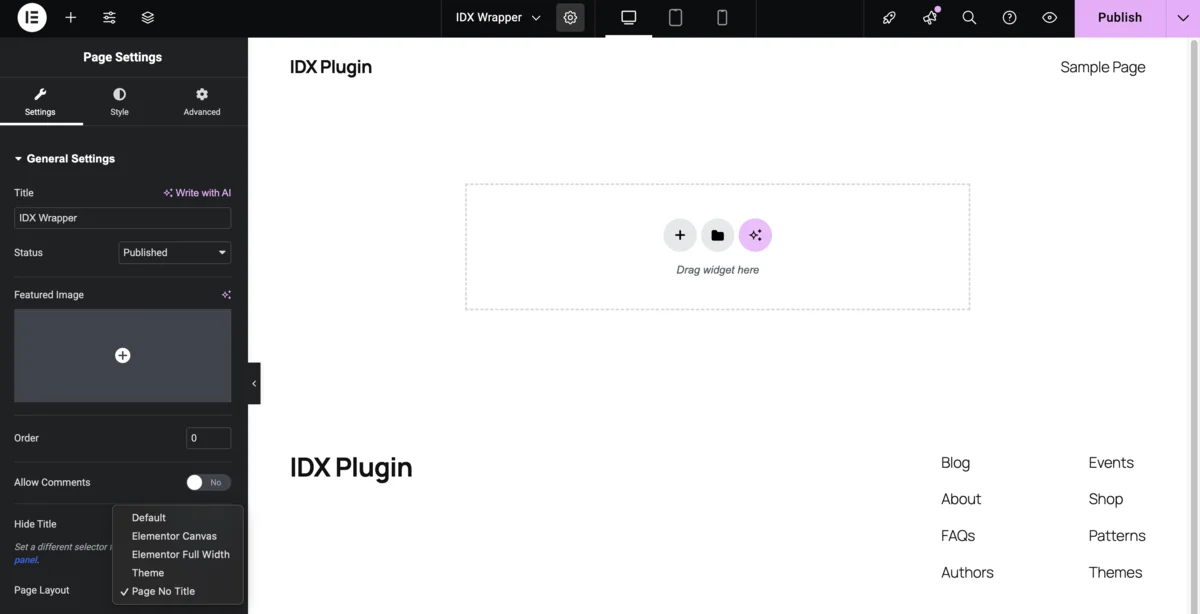
1. Create a New Wrapper Page in WordPress
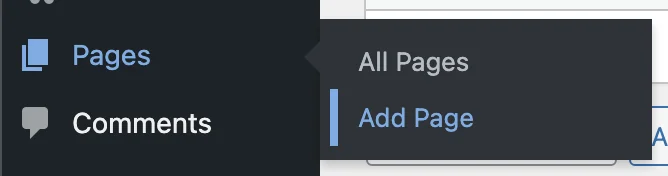
In your WordPress admin panel, go to Pages → Add Page
Name the page something like "IDX Wrapper", and click Edit with Elementor.
2. In Elementor, click the cogwheel icon in the lower-left corner to open Page Settings. Choose a layout like "Page No Title" to show only your site's header and footer with an empty middle area. This area is where IDX Broker will inject its content.
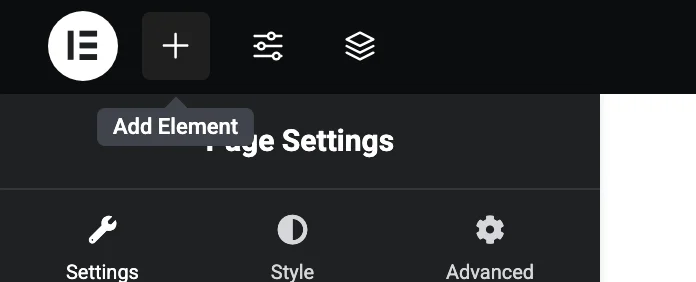
3. Click the + icon to add a new element.
4. Search for the HTML widget and drag it into the empty section.
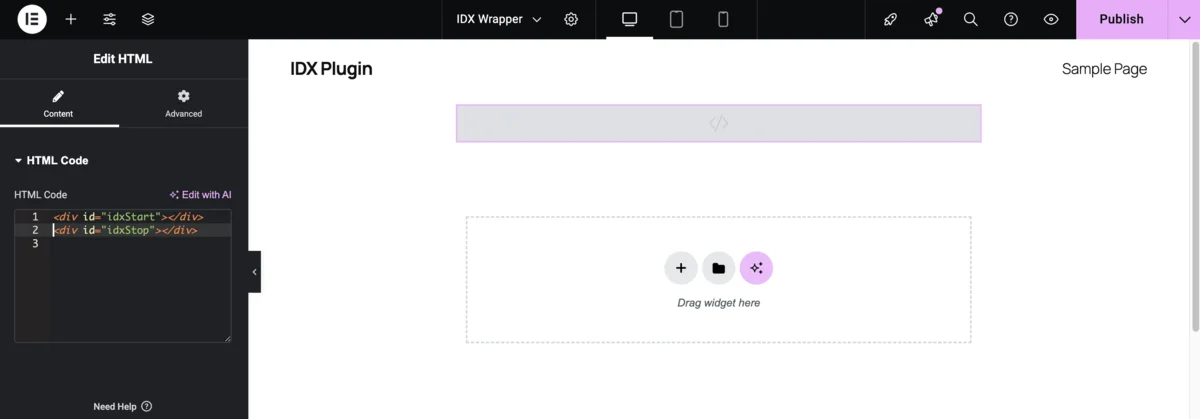
5. In the HTML widget, paste the following code:
<div id="idxStop"></div>
These two tags mark the beginning and end of where IDX Broker should insert its content.
6. Click Publish and copy the full URL of your new page — for example: https://your-site.com/idx-wrapper
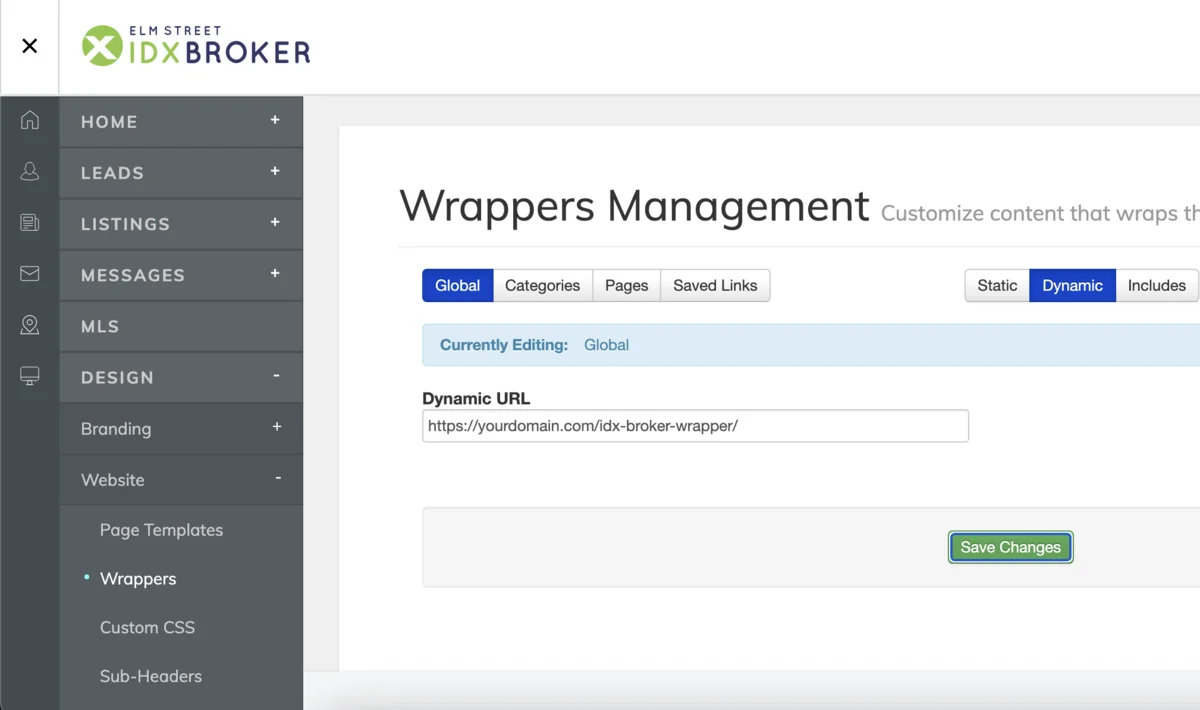
7. Log in to your IDX Broker dashboard. Go to Design → Website → Wrappers, then open the Global tab. Paste the full URL of your wrapper page into the Dynamic URL field and click Save Changes.
All IDX Broker pages — like search results and property details — will now load inside your WordPress layout, using your site's header, footer, and styles. This ensures your visitors enjoy a seamless, professional look across the entire website.
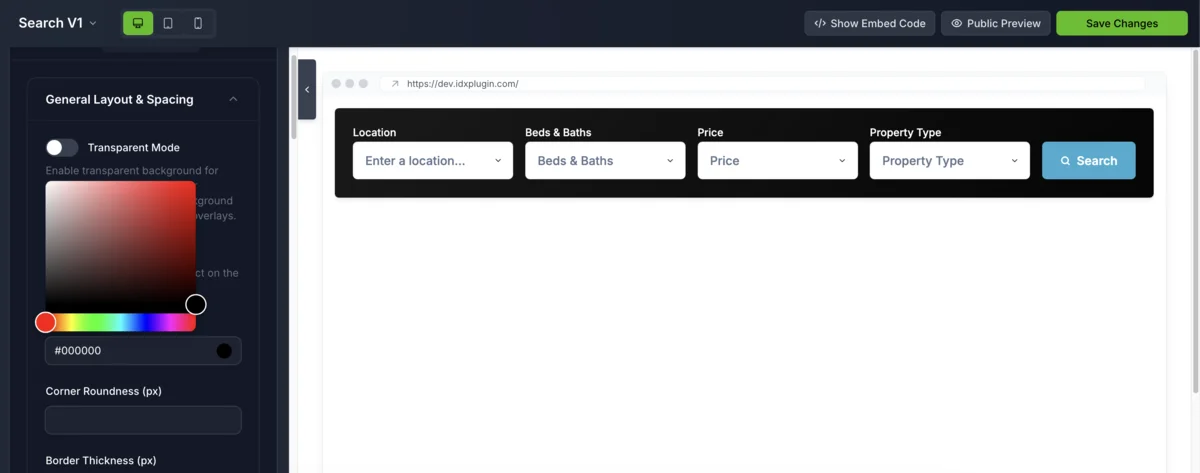
Step 3: Adjust the Widget Styles to Match Your Website
Once your widget is embedded and visible on the page, you can return to the IDX Plugin dashboard to fine-tune its appearance. There are two ways to style your widgets — depending on whether you want consistent global styling or custom design for a single element.
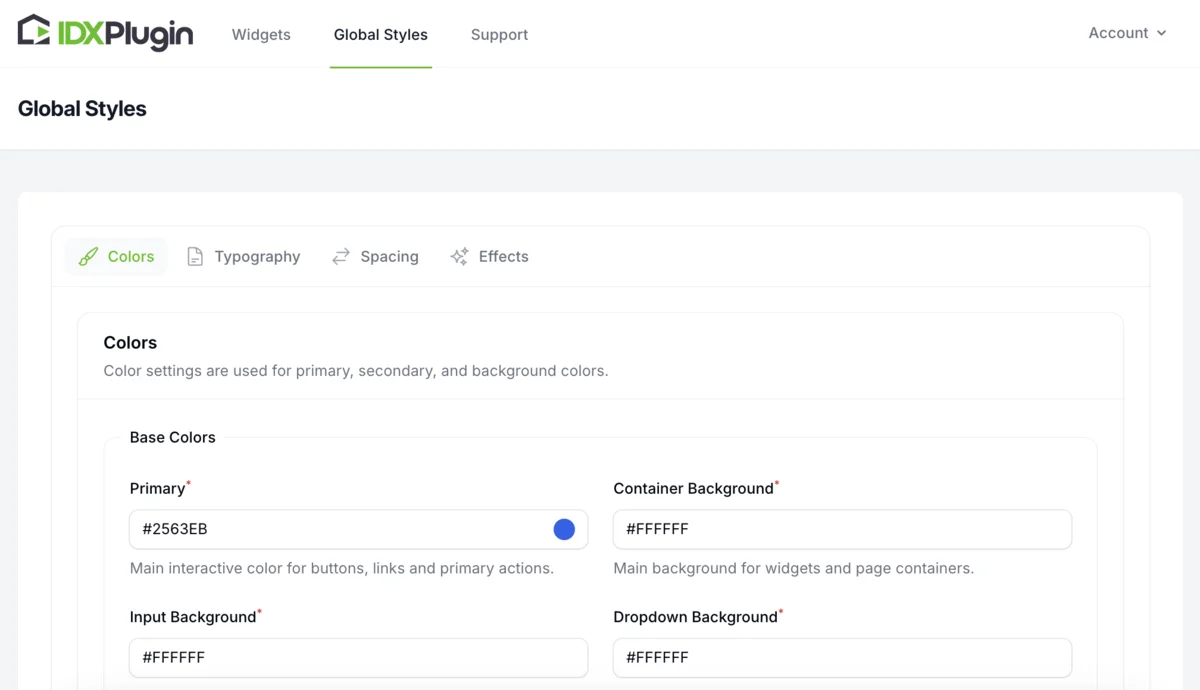
1. Global Styles
In your dashboard, go to Global Settings. There, you can set design rules that apply to all widgets on your site — including colors, fonts, button shape, spacing, and corner radius. This helps your entire site look unified and saves you time when working with multiple widgets.
2. Individual Widget Styling
If you want a specific widget to have a different look — for example, a homepage search form that pops — you can customize it directly. Open the widget from your dashboard, go to the Appearance tab, and adjust the visual options like background, padding, text size, and more. These changes will only apply to that widget and won't affect the others.
Summary: The Easiest Way to Add MLS Listings to Your Elementor Website
By combining IDX Broker (for MLS data) with IDX Plugin (for visual styling), you can turn your Elementor-powered WordPress website into a full-featured, lead-focused real estate platform — all through simple drag-and-drop widgets.
Here's what you get:
- • Perfect WordPress integration – Works seamlessly with any theme (Astra, Hello, MyHome, Houzez) using Elementor's familiar interface
- • Live MLS listings that update automatically – No manual uploads or maintenance required
- • Visual customization tools – Style widgets to match your site's branding without touching code
- • Professional lead generation – Built-in contact forms, saved searches, and listing alerts
- • Consistent user experience – IDX pages inherit your WordPress theme's header, footer, and styling
With this integration, your Elementor site becomes more than just a beautiful portfolio — it becomes a powerful, search-driven real estate platform designed to convert visitors into clients. No coding required, no complex setup, just professional results in minutes.
Ready to get started?
You've just learned how to place IDX Plugin widgets inside an Elementor layout and style them to match your site. If you were just exploring, now's the perfect time to put it into action.
→ Don't have an IDX Broker account yet? Create one here and skip the $100 setup fee
→ Already using IDX Broker? Register your free IDX Plugin account here and start adding widgets today.
→ Have questions? Contact us anytime — you'll get professional support from our team!
Get Started Today
New to IDX Broker? Get the complete solution. Already have IDX? Test how our widgets work with your account in under 3 minutes.